How to Change Blade in Cricut? [A Complete Guide]
Cricut machines are smart cutting devices. These machines can cut, write, score, and sketch. Further, the machine performs the respective function by using a specific blade. Additionally, the blades depend on the type of Cricut machine you use. The machine blades are to be changed depending on their usage. Usually, if you see that the cuts are precise and crisp, it means the blade needs to be replaced. In this blog, we will look at how to change blade in Cricut machines. Even though there are many machines, there is only one way to replace the blade.
Step 1: Removing the Blade Housing from Cricut Machine
First, you need to
remove the blade housing from the Cricut machine. After mounting the blade, you
attach the blade housing to hold the blade firmly in place. So, the house
should be removed before replacing the blade.
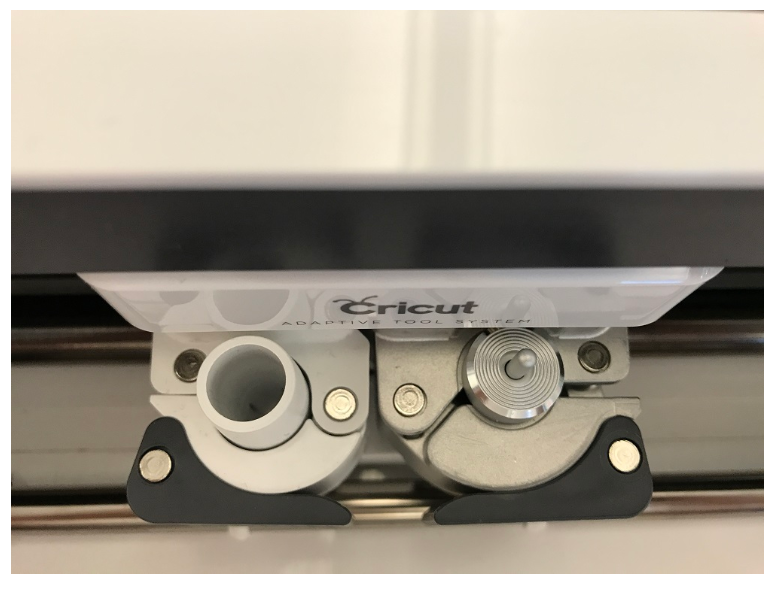
- The first thing is to access the cutting assembly of
the Cricut machine. It is always positioned at the exterior plotter.
Cutting assembly will be the first thing you will see once you open the
machine door.
- You must
open clamp B to remove the housing on Explore or Maker machines on the
double tool holder.

- However, if you are using older machines, you need
to unscrew the black arm holding the blade housing in place.
- Further, after loosening the clamp holding the blade
house, you can swiftly slip it out.

Step 2: Ejecting the Blade
There are several types
of blades, like Fine-Point, Premium Fine-Point, Deep Point, and Deep Cut
blades, etc. Further, all the Fine point blades, Deep Cuts, and Deep points
come with small plungers. The first step is to ensure the blade housing is
positioned over a small catch basin. Since the blades are small, you can easily
lose them.
Removing a Knife Blade
A Knife blade is made up
of a super strong blade used for cutting thicker materials. Its housing is
silver in color with gold gear at the top.
- First, keep a changing lid over the blade and
housing sleeve.
- Next, place the changing lid over the blade side of
the housing.
- Then you need to hold the housing in one hand
tightly.
- After holding the housing, twist the changing cap counterclockwise with your other
hand.

- Later, you flip the housing so the blade points
directly to the table. And the blade should just slide out.

Removing Rotary Blades
The Rotary blades are
premium stainless steel blades that can cut fabric and other delicate materials.
They don't need to use a stabilizer. To remove the rotary blade, follow the
steps.
- You need to use a blade-changing kit to remove the
Rotary Blade.
- Next, place the empty changing cap over the blade
and housing sleeve.
- Later, use a screwdriver to loosen the blade nut. It
is important not to remove the old blade or washer from the cap.

Step 3: Preparing the New Blade
After removing the
blade, you must replace the empty housing with a new blade. Let us see how to
prepare and replace the blade.
- First, you need to remove the plastic cover from the
new blade. The new blades come with changing caps, always designed to
cover the blades.
- Next, insert a new blade into the appropriate
housing.
- If you use a Fine-Point, Premium Fine-Point,
Deep-Point, or Deep-Cut blade, you must grip it tightly at the cutting
end.
- Next, gently insert it into the bottom slot of the housing.
- Now, the magnet inside the casing will hold the
blade in place.
- If you have installed the blade correctly, you will
see the tip protruding from the end of the housing.
- First, insert the blade into the bottom slot of the housing to
replace the Rotary Blades. And
then, replace and tighten the housing screw that holds the black arm in
place.
Step 4: Reinstalling the Housing
After installing the new
blade into the housing, you need to install the blade housing into the machine.
Let us see how to do it.
- First, slide the housing into the clamp B for Maker and Explore
machines.

- It is important that the housing is sitting directly
on top of clamp B.
- After properly aligning the blade housing, you need
to push down the clamp B.
- Finally, gently apply the pressure, and when clamp B
is closed properly, it aligns perfectly with clamp A.
Conclusion
A Cricut machine is a
crafter's friend, allowing crafters to cut out shapes from various materials.
After a certain amount of usage, the blade's cutting edges will wear out and
become dull. Also, they will stop giving crisp and clear cuts. Then you need to
change with a new blade. So, this blog discussed how to change blade in Cricut machine.
FAQs
Which blades can I use with the Cricut Maker 3?
The Maker 3 machine can
use as many as 13 blades. Also, the machine can use every blade for the Explore
series. The important blades of the Maker 3 are, Fine-Point, Deep-Point,
Bonded-Fabric, Foil Transfer, and Scoring Stylus. Additionally, you can use
Rotary and Knife Blades. Plus, it can use all the Quick Swap tools, like the
scoring wheel, etc.
What is a Premium Fine-Point Blade?
The Premium-Fine Point
is the most versatile blade designed to cut intricate designs. It can cut on
various materials and is made from fine German carbide steel. You can use this
blade with the Explore 3 and Maker 3 machines, so you don't have to buy new
housing. It is especially useful for cutting cardstock and vinyl material.
What is a Rotary Blade?
Rotary Blade is the blade
used for cutting fabric and other delicate materials. It is a premium stainless
blade. It can cut fabric and other delicate materials without using any
stabilizer. The important materials it can cut are cotton, canvas, denim,
flannel, and many more. You need to use the blade only on the Fabric Grip mat,
as it is stronger and denser to withstand the higher pressure of the blade.
Visit - Cricut.com/setup


Comments
Post a Comment